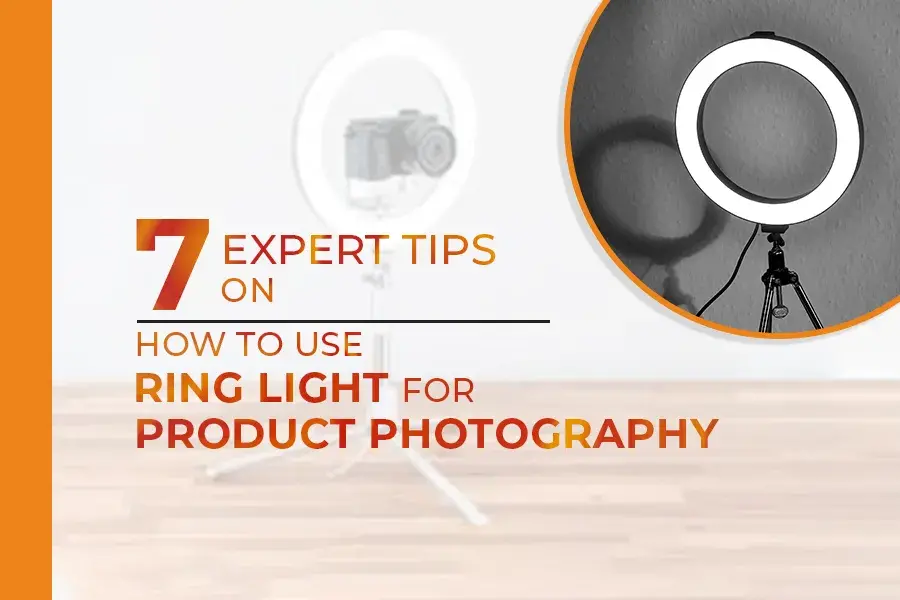
7 Expert Tips On How To Use Ring Light For Product Photography
The world of product photography is buzzing with excitement, especially in the age of online shopping and social media. If you’re a professional photographer, having the right tools is key to capturing the perfect shots.
Today we will talk about one such tool – the ring light. It is being highly famous currently. So today, we’re diving into the secrets of using ring lights for product photography, understanding the magic they bring to your visuals, and how you can use ring lights for product photography.
What Is A Ring Light For Product Photography
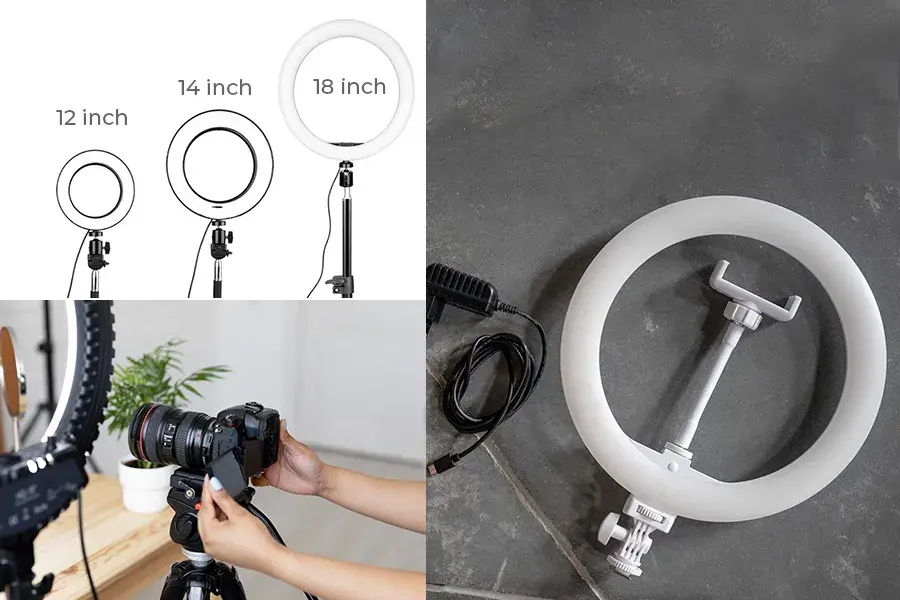
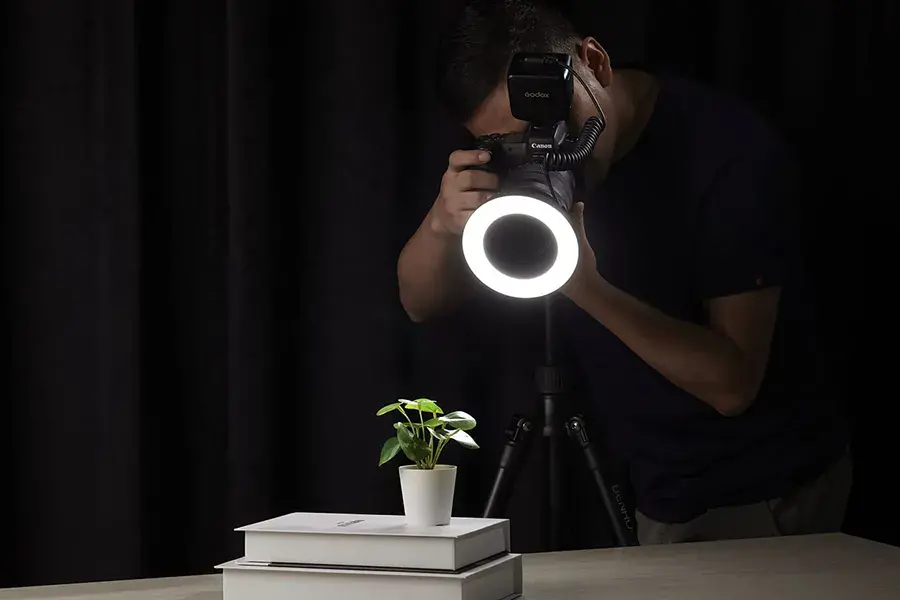
Picture this: a circular light that looks like a UFO, but is way friendlier. You might have spotted them on Amazon or Etsy, shining their circular glow. These lights, powered by LED or fluorescent magic, come in various sizes – 12, 14, 18 inches, and some even weirder sizes if you’re feeling adventurous.
Why are these ring lights stealing the spotlight? Well, they’re super mobile. Easy to move around, they stand out in the world of studio lights. What makes them shine even brighter is their unique feature – you can slip your camera right through the centre of the light source. The result? Crystal-clear, bright-as-day photographs that make your products pop.
Originally, ring lights were the unsung heroes of beauty salons, perfect for giving that flawless makeup look. But guess what? The product photographers caught on. As online product selling skyrocketed, photographers realized ring lights could work wonders for product photography too. The soft, natural-looking glow became a secret weapon for capturing products in their best light.
If you work in a cozy home studio, ring lights are like a dream come true. But hey, don’t stop there. While they’re fantastic, there’s a whole universe of lighting techniques waiting to be explored. You can explore more on lighting here: Modular Lighting
Take the plunge, learn the tricks, and let your products shine like never before.
Why Do Lots Of Product Photographers Love Using Ring Lights?
Well, they’re among the photographer’s favorites because they’re super flexible. You just put the light at a certain distance from your stuff, and bam! Instantly, you get awesome and consistent lighting.
But there’s more to the story. These ring light for product photography are round, like a cool circle of light. Instead of playing games with other lights, you pop your camera through the circle, and snap! It’s easy and fun.
Now, here’s the real superhero move – ring lights fight against glare and shadows. You don’t want them in your photos. Getting rid of them is usually a big job, but not with ring lights. These circle wonders almost make them disappear, saving you time when you’re fixing up your pictures.
Check out a ring light, and you’ll see its secret power. The circular design makes sure every part of your product gets lit up, and it separates it from the background.
What’s the result? A super clear and sharp picture that shows off your product. So, if you’re getting into product photography, think about grabbing a ring light – it’s like a shortcut to getting amazing shots! 🌟📸
7 Tips on How to Use a Ring Light for Product Photography

Download The Beginners Handbook For Product Photography
This handbook is your go-to guide for unleashing your creative potential. Don’t miss out – grab your FREE copy now!
1. You Can Use The Ring Light As The Key Light For Product Photography
To nail your product photos, you need the right light setup. Basically, you need a main light, a helper light, and sometimes a backlight. Some products are trickier, so adjusting the lighting makes it easier. A ring light can play the role of a key light, especially for direct shots. A 10-inch one is good for average-sized stuff. Professionals use all three lights in their top-notch studios, placing the helper light a bit away and at a different angle. But to start you can experiment and see what fits your style as per your home studio.
2. A High CRI Ring Light Is Better
Now, here’s a secret– choose a ring light with a high CRI. CRI means it mimics real sunlight. Why is this cool for product photos? Because things should look the same online as they do in person. A professional photographer gets this, making sure what you see is what you get. So, when you’re diving into product photography, think about the right lights and a high CRI ring light – it helps your pictures seem more professional and real.
3. Be Mindful Of Shiny Surfaces With Ring Lights
Ring lights are handy, but they can cause a bit of trouble with shiny objects. When reflections appear on the product, it’s like having extra shadows. Usually, people fix this using fancy software like Photoshop, but guess what? You can skip that step by being careful when snapping the picture.
Pay attention to where the ring light’s reflection falls, especially with things like jewellery. Too much shine can mess up the whole photo. So, be smart about where that ring light glow shows up, and then you can position your light at an angle from where the reflection doesn’t come in the photo.
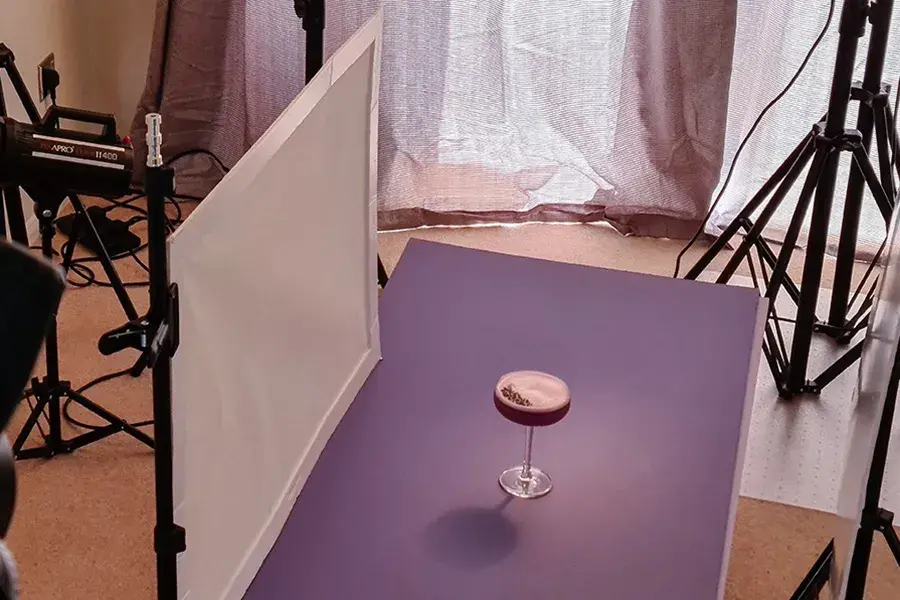
4. Choose The Right Background Color Wisely
Typically, you want to shoot products on a white background – it’s like the go-to rule. But here’s the twist: it’s not always a strict rule. Thanks to the ring light, you get a bit more flexibility. White backgrounds are a favourite for digital marketers because they’re a breeze to edit.
Professionals shoot on white and then turn the background see-through, creating those cool PNG files. But what if your product is white and you want a black background? Well, that’s a puzzle for photographers to solve. It depends on your skills with lighting and using that trusty ring light. It is a little creative challenge in the world of photography and you gotta accept it!
5. Adjust Lighting For True Colors
Even though digital photos are super cool, the tech behind them keeps changing fast. Ring lights aren’t exactly new, but now they’re more affordable and have cool features like dimmers. Professionals know that good lighting is a must for getting real colours in photos. That’s why they use ring lights for things like food pics too. One thing they avoid is using weird lights that make products look too green or blue. They want the real colours to shine!
6. Fix Shadows With Bounce Cards
Product pics are all about angles, and those angles can change the vibe of a photo. Every product has odd curves and angles that create tiny shadows. A ring light spreads light evenly, showing where those shadows hide. Think about taking pics of a Barbie doll and a Transformer toy – each casts shadows differently. To fix this, photographers use bounce cards, usually in white and black. These cards take the edge off shadows and brighten them up. It’s like the light bounces off the card to fill in those shadows. Simple and smart!
7. Go Portable With A Ring Light On The Move
If you don’t take pictures in one place and are always on the move then a portable ring light is your buddy. While natural light is awesome, it might not always be enough for a super professional shoot. A portable ring light lets photographers work their magic anywhere, anytime. They’re not too heavy to carry around, but some can be a bit tricky to move. No matter the model, the key is to use it with creativity while keeping the basics in mind – like lighting, colours, and camera angles.
Final Words
Using ring lights for product pics is a super cool idea, especially with so many options out there. What makes ring lights awesome is their knack for creating beautiful lighting for almost any product shot. The result? Clearer images that pop against the background. When you invest in ring lights for product photography, you save heaps of time in editing. Say goodbye to annoying issues like shadows – ring lights have your back!
So, there you have it – a bunch of tips to level up your product photography game. With a trusty ring light and a dash of creativity, your product pics will be stealing the spotlight in no time!
FAQs
1. How to Use a Ring Light for Food Photography?
Using a ring light for food photography is simple and effective. Position the ring light to complement your dish, experiment with angles to find the best lighting, adjust the intensity, be mindful of reflections on shiny surfaces, and consider background options to make your food pop. The key is to get creative and discover what works best for showcasing your unique culinary creations.
2. Are Ring Lights Better Than Light Boxes for Product Photography?
The choice between ring lights and light boxes depends on your specific needs. Ring lights are portable, provide clear and aesthetically pleasing lighting, and work well for eliminating shadows on products. On the other hand, light boxes offer soft, diffused light, reduce harsh shadows, and are excellent for smaller products. The decision hinges on factors like product type, size, shooting environment, and portability preferences. Experimenting with both can help you determine which tool aligns best with your product photography goals.