How To Do Product Photography In 8 Easy Steps
Believe it or not, the perceived value and quality of your brand are judged by the quality of your images. In simpler words, having high-quality and beautiful product photography can help your brand very very much.
To prove the statement, the data is that the human brain can process images in only 13 milliseconds, ONLY 13 MILLISECONDS!!! Well, that means you don’t have a lot of time to make a memorable first impression on your customers.
Now we know that what your customer sees is a big deciding factor in whether they will buy your product or not. So the obvious thing is to invest in great pictures that catch the viewer’s attention and motivate them to buy.
Here walks in the Product Photography. So, how to do product photography now? We are right here to help you with this.
Let’s explore the tips and process of how to do product photography that makes people look at it again.
So let’s dive in,
How To Do Product Photography
Let’s see the practical step-by-step process with some tips on how can you do product photography. For starters, the first thing is,

Download The Beginners Handbook For Product Photography
This handbook is your go-to guide for unleashing your creative potential. Don’t miss out – grab your FREE copy now!
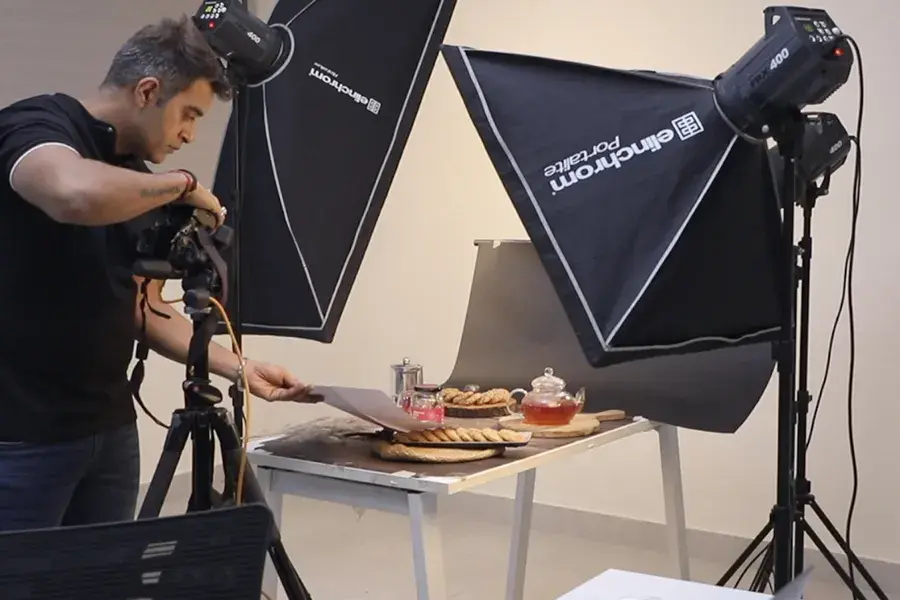
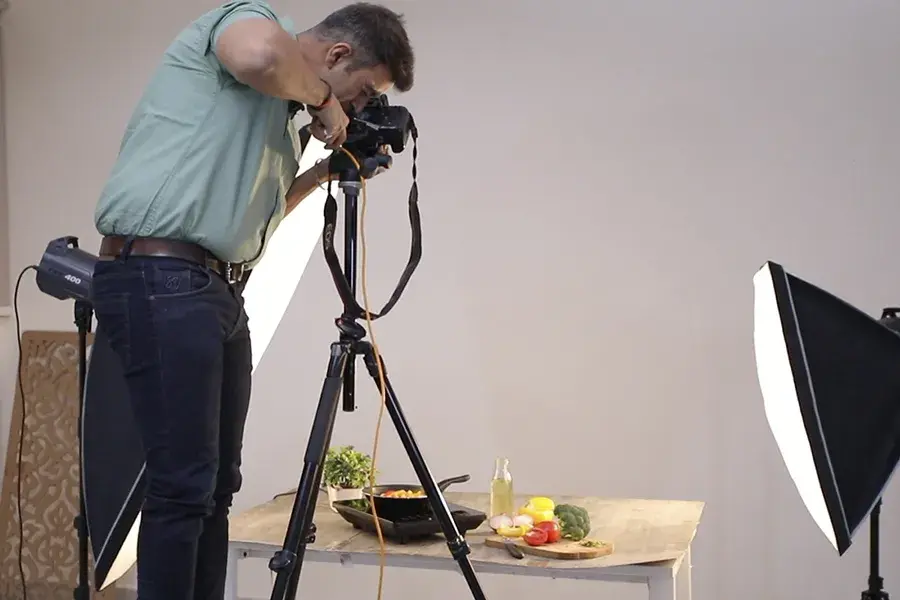
1. Choosing The Right Lighting
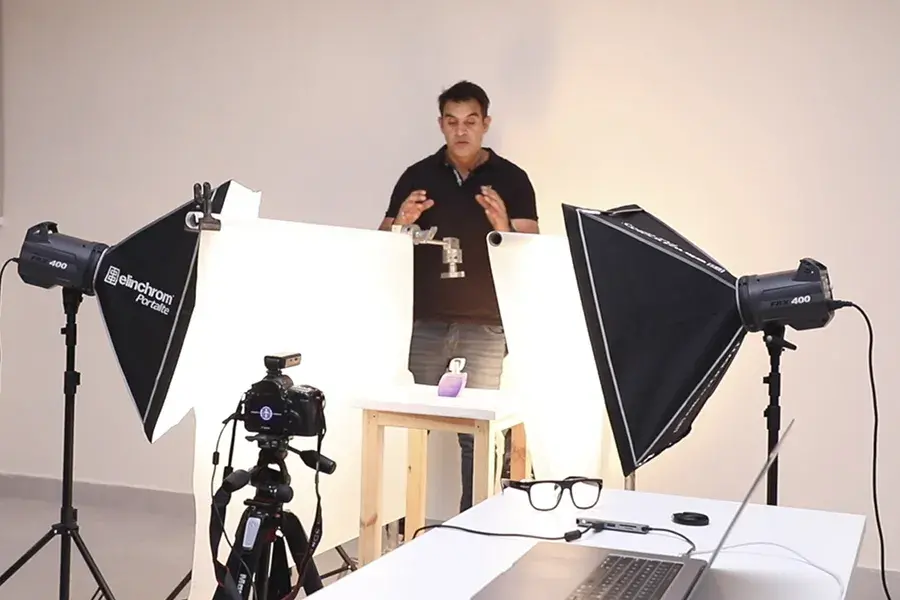
The very first thing in doing product photography is finding a good area for taking pictures. If you have lights then you can use them to bring the best effects but if you are low on budget, you can choose a room with a window that gives you natural lighting. The big and good your window is, the more natural light you will have.
Now you can play with soft and hard light simply by deciding the distance of the product from the window. If you put your products closer to the window, it will create a softer light with darker shadows. While if you move farther away from your window, you will have lighter and sharper shadows.
Wanna learn more about how lighting works? Click here: hard light and soft light
2. Choose Your Camera
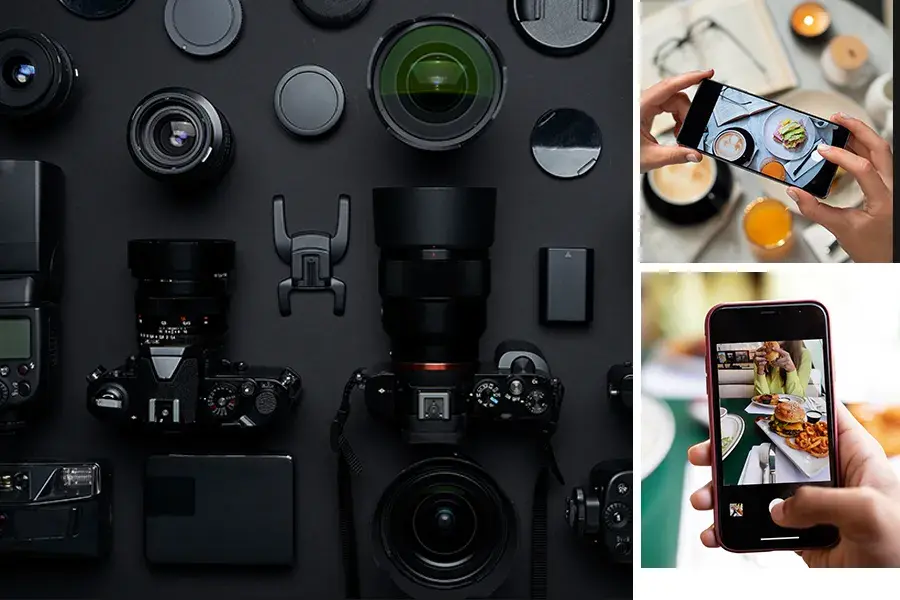
Now, if you have a DSLR and know how to use it, then you are good to go with it. But for someone who doesn’t know the difference between Kodak and Canon or if you are on a tight budget, even your smartphone can help you a lot in this.
When it comes to product photography, your smartphone can be a powerful tool. Most modern smartphones present impressive camera capabilities that challenge traditional DSLRs. One crucial factor to consider is the megapixel count. The higher the megapixel count, the better your product photos will turn out.
While any smartphone with a decent camera can be used, it’s advisable to aim for a newer model with a 12-megapixel camera or higher. The 12-megapixel iPhone, for instance, is a popular choice for its image quality and ease of use.
Want help choosing the right camera? Click here: best camera lens for product photography
3. Get A Tripod
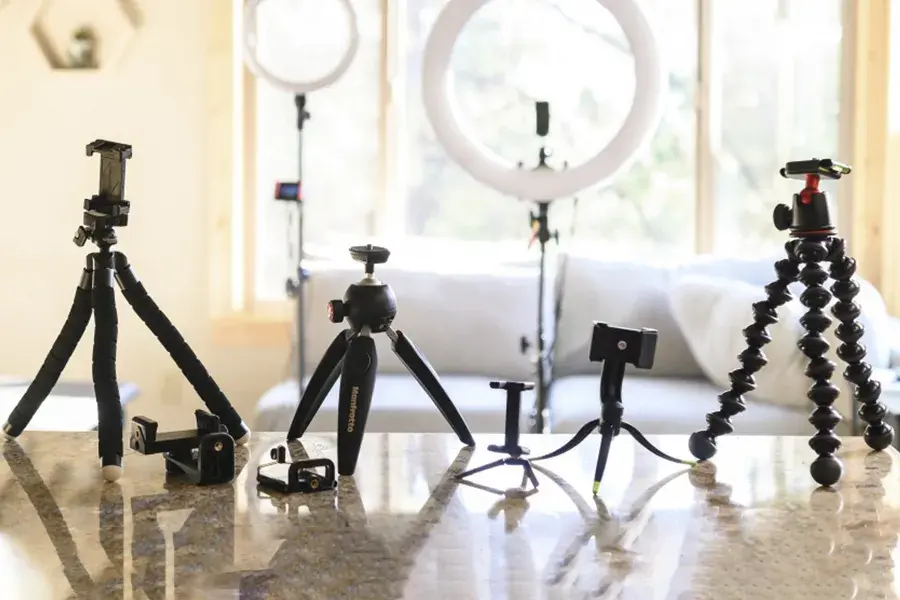
A stable base is very important for capturing clear and sharp product images. This is where a tripod comes into play. Tripods come in a range of prices, but regardless of your budget, investing in one is a wise decision. A tripod helps reduce camera shake, providing stability and consistency in photo angles and style for your product line.
You can search for the tripods that match your requirements and your price range, they can help you in the long run, so you shouldn’t compromise on that.
Get more information about tripods here: Types of stands
4. Set Up Your Backdrop
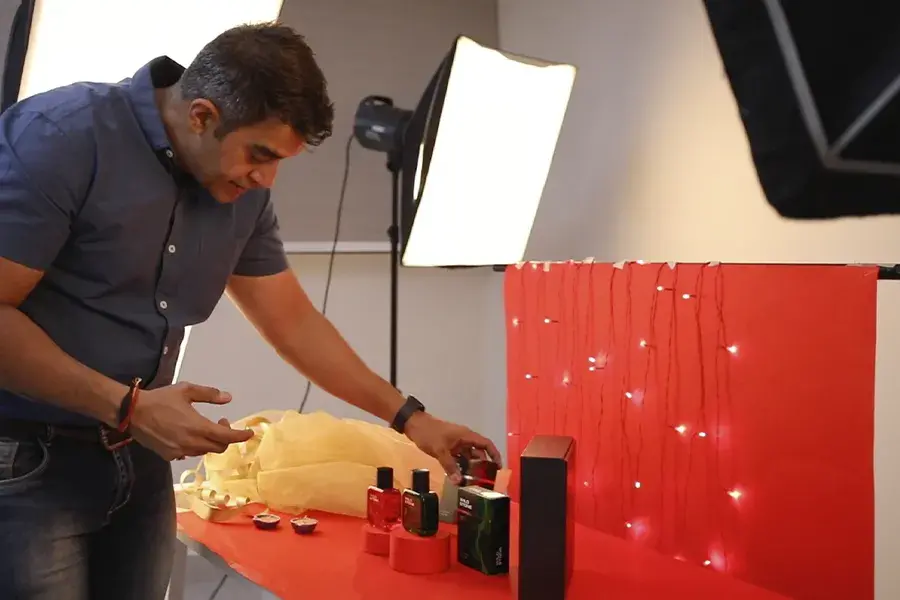
The next step in figuring out how can you do product photography is setting up your backdrop. Creating a clean and consistent background is important for professional-looking product photos. Place a white backdrop behind your product to remove distractions and provide a neutral background. You can use a white paper sweep or go for an inexpensive poster board from a local store.
Make sure your backdrop remains stark white. A white backdrop reflects natural light onto the product, resulting in equally lighted-up photos. This not only improves the visual appeal of your products but also simplifies the editing process, especially if you need to remove the background. Avoid using cream or off-white backdrops, as they can make editing hard for you and affect lighting too.
Position your backdrop not only behind the product but underneath it as well. This helps in a seamless change from the vertical to horizontal surface, making it look beautiful and clear.
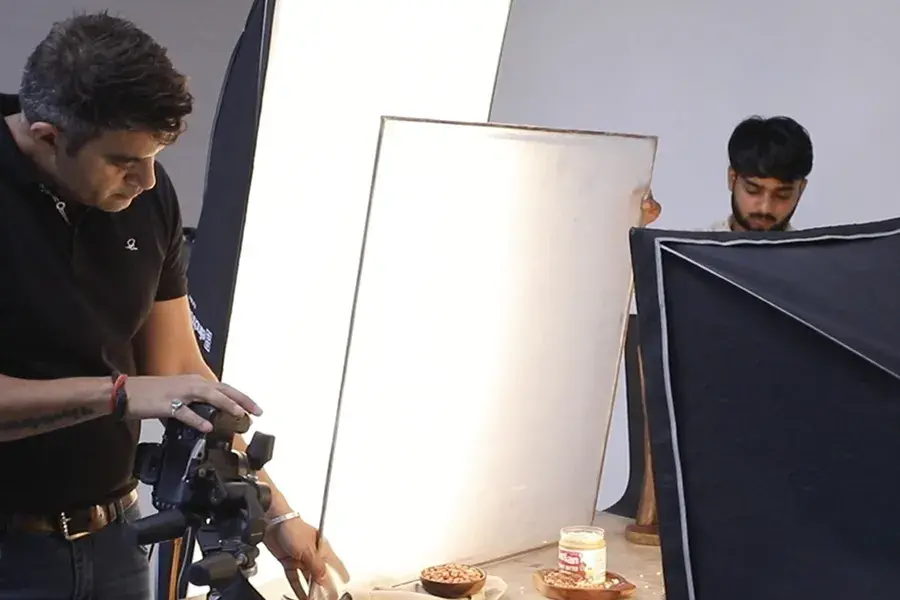
5. Use White Bounce Boards
Controlling lighting is very very important in product photography, especially when using a smartphone. White bounce boards can be very useful in minimizing strong shadows and creating a balanced lighting environment that brings out the finest details of your product.
Invest in a white bounce board made of foam, which can be easily purchased on platforms like Amazon. These boards effectively bounce and diffuse light, reducing harsh shadows and improving the overall quality of your product images.
6. Set Up A Diffuser Sheet For Bright Sunlight
Natural light can be a fantastic asset in photography, but but but harsh sunlight can create shadows and highlights that you don’t actually want. Then a diffuser sheet comes in handy. These sheets soften the incoming light, giving you a more plain and even brightness on your product.
Diffuser sheets can be found on online marketplaces like Amazon, or you can create a DIY version at home using materials like parchment paper, a frosted shower curtain, or plain printer paper.
Learn more about diffusers here: Cutters, Diffusers and Reflectors
7. Take Multiple Pictures And Then Choose
Now that your setup is in place, it’s time to start capturing your product images. Keep in mind that the first few shots might not be perfect, so don’t hesitate to take multiple pictures. Experiment with different angles, distances, and positions to find the most visually appealing shots.
After the photo session, upload the images to a computer for a more accurate assessment. The small screen on your smartphone may not provide an accurate depiction of the photo quality. You can also use photo management software like Adobe Lightroom for organization and basic editing.
8. Retouch Your Pictures
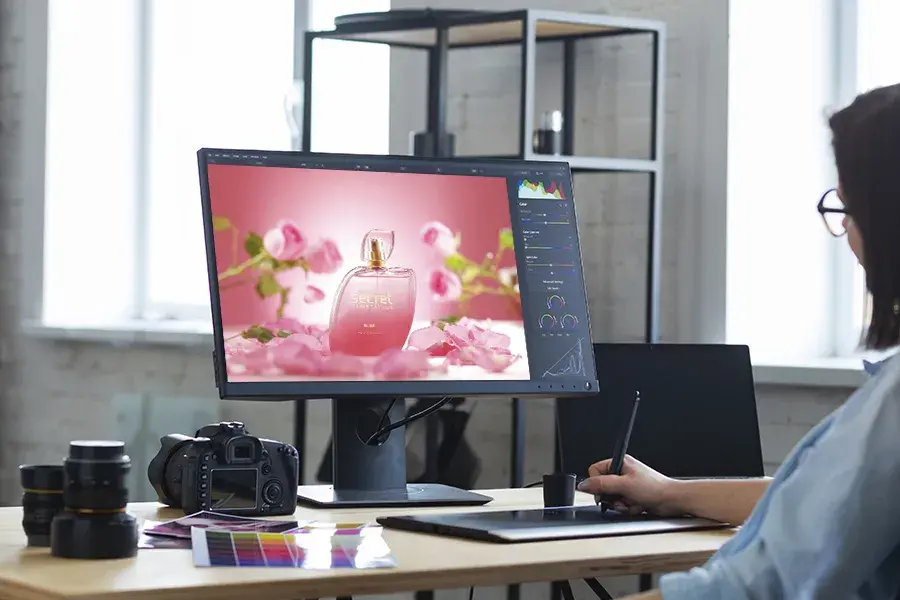
While you may have captured some impressive shots during the photo session, the post-production phase is where you can give your images a professional standard. By retouching you can do color correction, removal of unwanted objects, and adjustments in lighting.
Adobe Lightroom and other photo editing software provide a range of tools for improving your product images. It may seem hard and irritating at the start, but with practice, you’ll become fluent in post-production processes, turning your average photos into polished, professional-looking visuals.
And that’s all, you made the setup, captured the images and did retouching to make them look better.
Now even though you can click amazing pictures at home on your own, if you are a somewhat big brand with a budget for photography, you might want to hire a professional product photographer. So, let’s see when is the correct time to call a professional product photographer.
When To Hire A Professional Product Photographer
While you can do some amazing product photography at home using the process above, there are some situations when hiring a professional product photographer is a better option. Like any DIY project, there are limitations that can not be completed on your own.
Now, professional product photography might come at a cost, that’s why you should go for hiring a professional if your budget allows it. Apart from that, let’s see what are the most important benefits you can get by choosing a professional.
1. Professional Quality
Achieving the highest quality photos demands more than just a sharp eye. Unless you’re an experienced photographer equipped with the necessary tools and software, getting the best results can be challenging. A professional photographer, armed with the best equipment, can deliver a level of quality that sets your product images apart.
The combination of a skilled photographer and cutting-edge equipment is a recipe for high-quality product photos. This quality will undoubtedly reflect on your or any other e-commerce website, leaving a lasting impression on potential customers.
2. Consistent Editing
Consistency in both quality and style is a hallmark of professional product photographers, especially when working with the same photographer on multiple events. For those less experienced in photo editing software, recreating the same lighting, colour, and positioning consistently can be a big task.
Professional photographers specialize in maintaining a uniform look and feel across your product images. This consistency not only contributes to a strong brand image but also improves the overall quality of your images. Consistent imagery can help you build trust with your customers making it easier for them to buy from you.
Wrapping Up
And there you have it — the step-by-step process of how to do product photography. And if you have the right tools and equipment then you are ready to go, but if you are low on budget you can even do product photography at home.
Follow the process given above and make sure to focus on details. Because it’s just the small things that make the biggest difference, from creating a white background to editing the pictures after shooting, every step of the process is important to bring out the best of your product in images.
And if you think you can spare some money for professional quality, you can also consider hiring a professional product photographer. So you are all set now, grab your product, pick up your phone and get shooting.