Step-by-step Guide On How To Connect A Camera To A Laptop
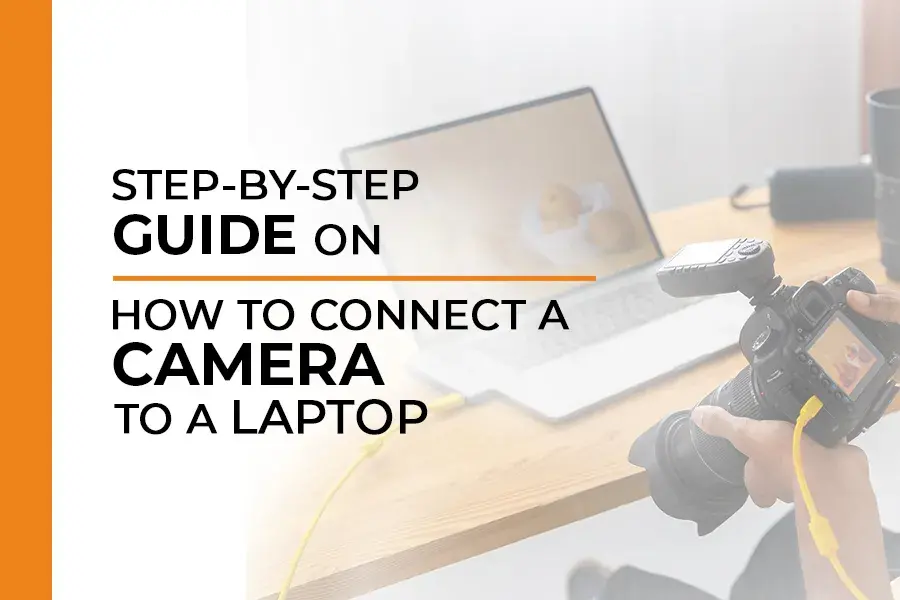
Connecting your camera to your laptop is no doubt very important but how to do that? Let’s see. Whether you’re a professional photographer or just starting out, knowing how to connect a camera to a laptop can be incredibly useful. In this blog, we’ll walk you through the process step-by-step, using simple and easy-to-understand language.
How To Connect A Camera To A Laptop In 5 Simple Steps
Step 1: Check Your Camera And Laptop
Before you begin, make sure that your camera and laptop are compatible. Most modern cameras use a USB connection, so ensure that your laptop has a USB port. Additionally, check if your camera requires any specific software or drivers to be installed on your laptop. You can usually find this information in the camera’s user manual or on the manufacturer’s website.
Step 2: Gather Your Equipment
Next step on how to connect a camera to a laptop, you’ll need a USB tether cable that is compatible with your camera model. If your camera uses a different type of connection, such as HDMI or Thunderbolt, make sure you have the appropriate cable. You should also have your camera’s user manual on hand in case you need to refer to it during the process.
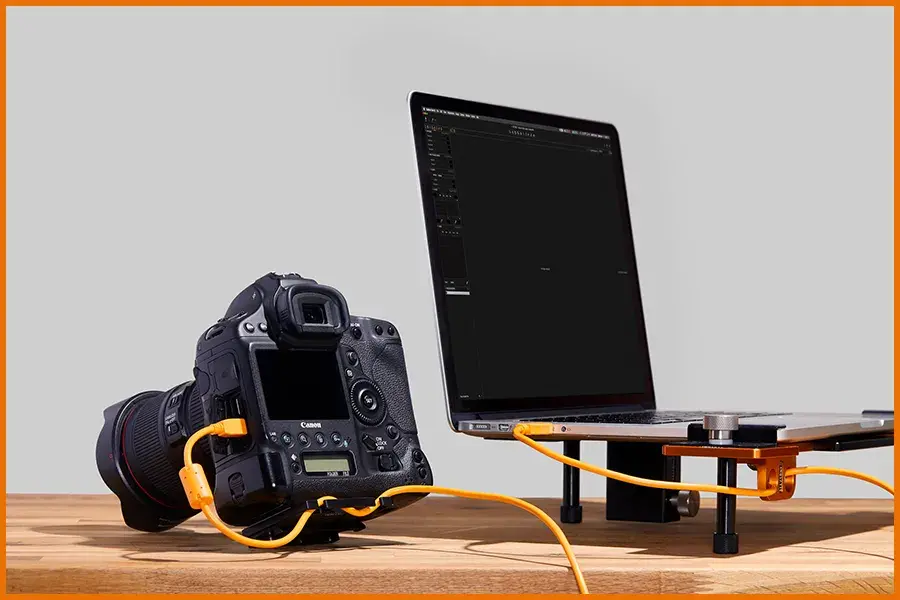
Step 3: Connect Your Camera To Your Laptop
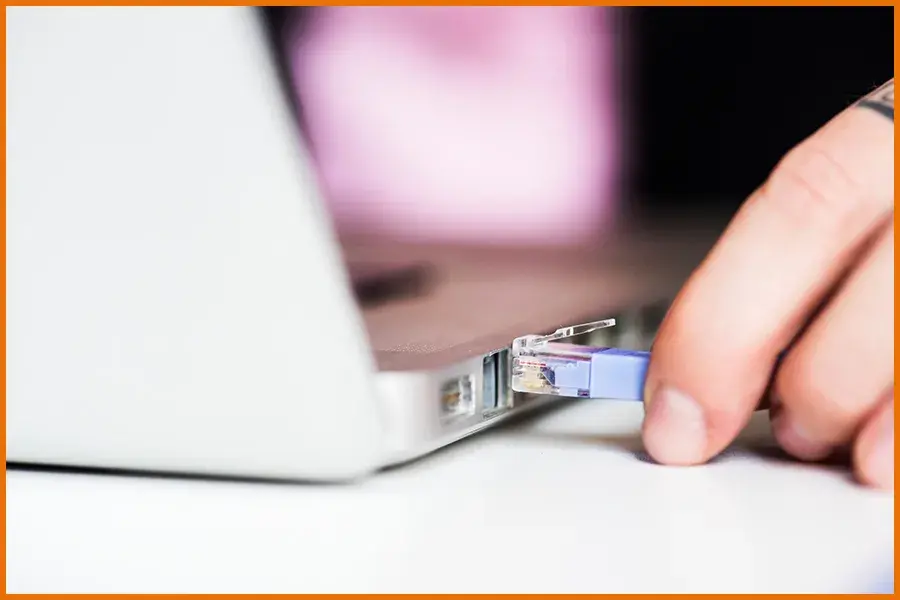
Turn off your camera and laptop before connecting them. This will prevent any potential damage to the devices. Locate the USB port on your camera. It is usually located on the side or back of the camera. It may be covered by a protective flap that you’ll need to open. Plug one end of the USB cable into your camera’s USB port.
Make sure it is inserted firmly to ensure a secure connection. Locate the USB port on your laptop. It is usually located on the side or back of the laptop. It may be labeled with a small icon that looks like three connected dots. Plug the other end of the USB tether cable into your laptop’s USB port. Again, make sure it is inserted firmly to ensure a secure connection.
Step 4: Turn On Your Camera And Laptop
Once you’ve connected the USB tether cable, turn on your camera first and then turn on your laptop. Your laptop should automatically detect the camera and install any necessary drivers or software and that’s how to connect a camera to a laptop. You may see a notification on your laptop’s screen indicating that a new device has been connected, that’s how to connect a camera to a laptop.
Step 5: Transfer Your Photos
Once your camera is connected, you can transfer your photos to your laptop. Depending on your camera and laptop, you may need to use specific software or applications to transfer the photos. Some cameras will appear as a removable storage device on your laptop, allowing you to simply drag and drop the photos from the camera to your laptop’s hard drive. If you’re unsure how to transfer the photos, refer to your camera’s user manual or the manufacturer’s website for instructions.
Common Issues In Connecting A Camera To A Laptop
When connecting your camera to your laptop, you may encounter some common issues that can prevent the connection. Here are a few possible reasons why your camera may not connect to your laptop:
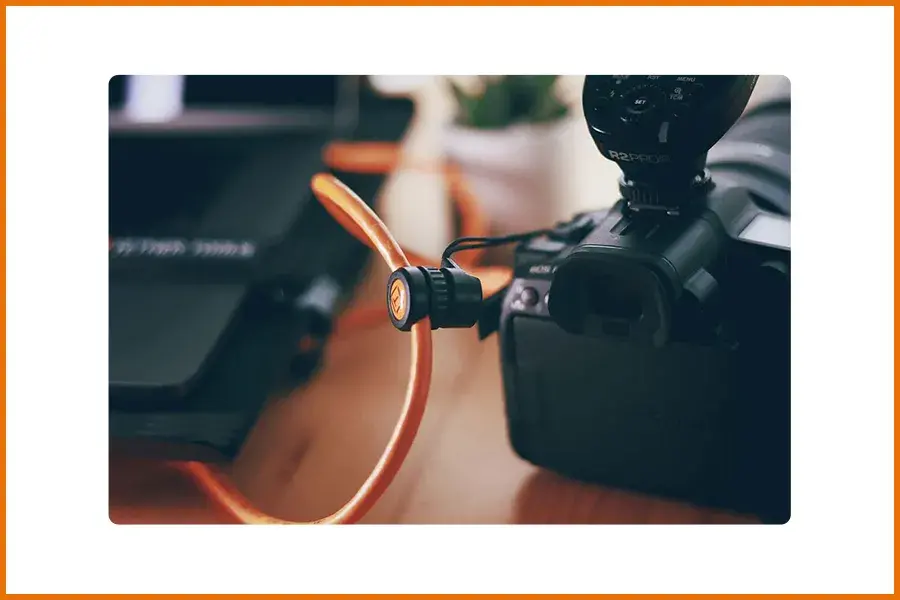
1. Incompatible USB Cable: Using a USB tether cable that is not compatible with your camera can prevent the connection. Make sure you are using the USB cable that came with your camera or a compatible replacement.
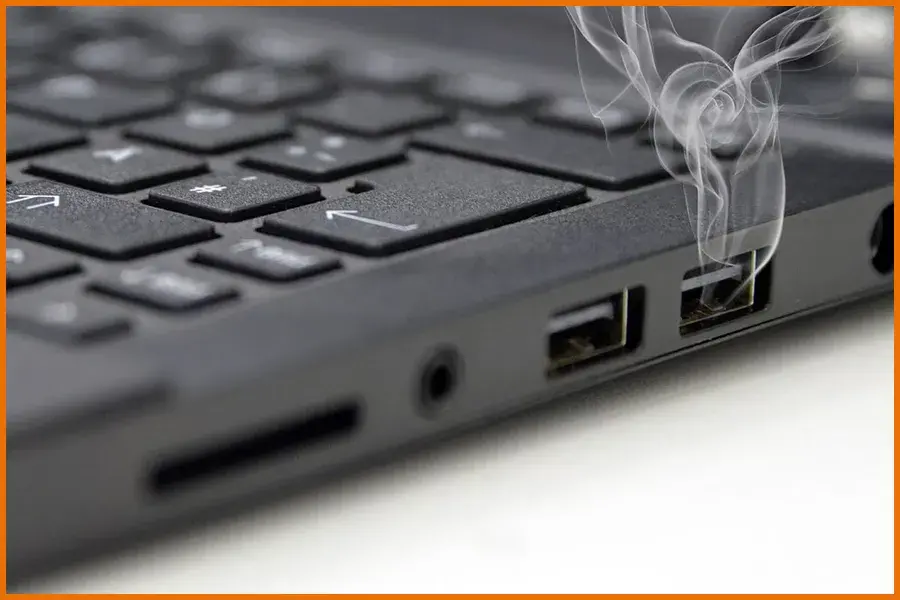
2. Faulty USB Port: If either the USB port on your camera or your laptop is damaged or faulty, it can prevent the connection. Try connecting your camera to a different USB port on your laptop or try using a different USB cable to see if the issue is resolved.
3. Incorrect Camera Settings: One mistake people make while learning how to connect a camera to a laptop is to overlook that some cameras have settings that need to be configured for USB connectivity. Refer to your camera’s user manual to ensure that the settings are correctly configured for USB connection.
4. Outdated Drivers: If the drivers for your camera are outdated or not installed correctly, it can prevent the connection. Make sure that you have the latest drivers installed for your camera by checking the manufacturer’s website.
5. Software Conflicts: Sometimes, other software running on your laptop can interfere with the connection. Try closing any unnecessary programs and see if the connection is established.
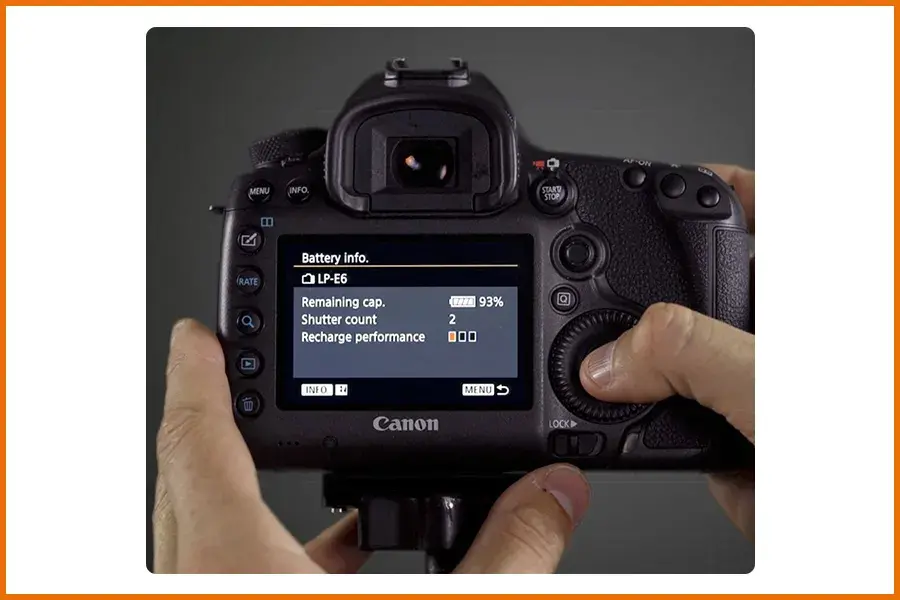
6. Battery Level: If the battery level of your camera is too low, it may not have enough power to establish a connection. Ensure that your camera is fully charged or connected to a power source before figuring out how to connect a camera to a laptop to connect it to your laptop.
Conclusion
Connecting your camera to your laptop is a simple process that can be incredibly useful for transferring photos and videos. By following the steps outlined in this blog, you can easily learn how to connect a camera to a laptop and start transferring your memories in no time. Remember to always turn off your devices before connecting them and to refer to your camera’s user manual if you encounter any issues.
If you are interested in product photography and want to become a professional, FDS Masterclass is the right place for you. Learn from basics to advanced techniques from industry experts with more than 22 years of experience. And what sets FDS Masterclass apart is that we don’t leave you on your own, we teach you the business of photography so you know how to get your dream clients and eventually start your own photography business. Don’t waste anymore time, join now: FDS Masterclass for Product Photography FDS Masterclass.
FAQs
1. How do I set up my camera on my laptop?
Setting up your camera on your laptop involves using the camera app that’s already installed on your laptop. You can usually find this app in your list of programs or by searching for it in the search bar. Once you open the camera app, you might need to grant it permission to access your camera. Follow the on-screen instructions to do this. Once set up, you can use the camera app to take photos or videos.
2. How do I attach a camera to my laptop?
Attaching a camera to your laptop can be done using a USB tether cable or wirelessly. If using a USB cable, simply plug one end into your camera and the other end into a USB port on your laptop. Make sure your camera is turned on and set to the correct mode (e.g., PC or transfer mode). Your laptop should recognize the camera and may prompt you to import photos or videos.
3. How do I connect my DSLR camera to my laptop?
Connecting your DSLR camera to your laptop requires a USB tether cable compatible with your camera model. Plug one end of the USB tether cable into your camera and the other end into a USB port on your laptop. Turn on your camera and set it to the correct mode (e.g., PC or transfer mode). Your laptop should detect the camera and install the necessary drivers automatically.
Once connected, you can use software like Canon EOS Utility or Nikon Camera Control Pro (depending on your camera brand) to control your DSLR from your laptop. These software programs allow you to adjust settings, view live images, and capture photos directly from your laptop. We that now you understand how to connect a camera to a laptop.